FreeDOS on a USB stick
I looked around and couldn’t find any reasonably good guide to install FreeDOS on a USB stick with persistence. So, I thought to myself that I’d write something up, because why not?
Now, why on earth would one want a USB stick with FreeDOS? I don’t know, perhaps one doesn’t really need any particular reason. You can just do things! Haven’t you heard?
Installation
Anyway, let’s get down to it. I’ll be using a rather ancient Kingston USB stick clocking at a whopping 2GB of available storage.
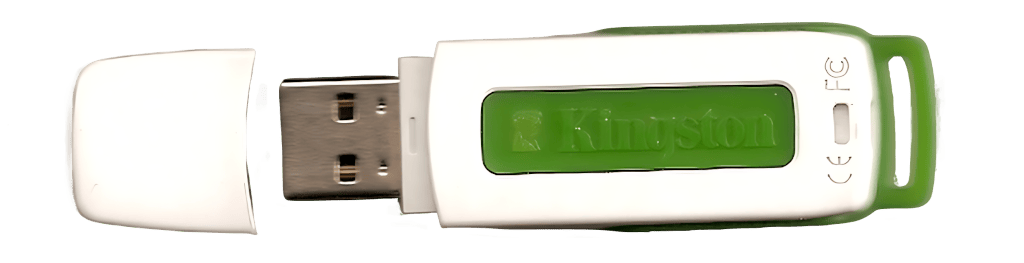
What a beaut, right? Brings back to late 2007 and early 2008 vibes, Way back when all those snotty nosed brats in tweed jackets got all us screwed over. Those were the good old days. Aye?
Other than the stick at hand, we’ll need QEMU, and the latest version of FreeDOS, which happens to be 1.4 at the time of me writing this down.
$ mkdir freedos
$ cd freedos
$ wget https://www.ibiblio.org/pub/micro/pc-stuff/freedos/files/distributions/1.4/FD14-LiveCD.zip
$ unzip FD14-LiveCD.zip
This should result in a lovely ISO file called FD14LIVE.iso in the current directory.
Now it’s time to boot it up. Please make sure to replace /dev/sdX with the device that corresponds to your USB stick, when running the incantations outlined below.
$ sudo -E qemu-system-i386 \
	-cpu pentium \
	-m 32 \
	-vga cirrus \
	-drive file=/dev/sdX,format=raw \
	-cdrom `pwd`/FD14LIVE.iso \
	-boot d
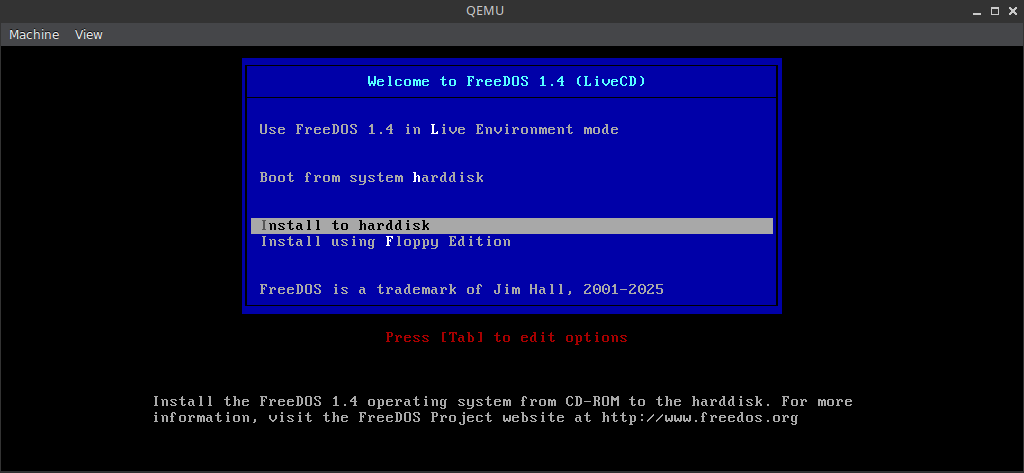
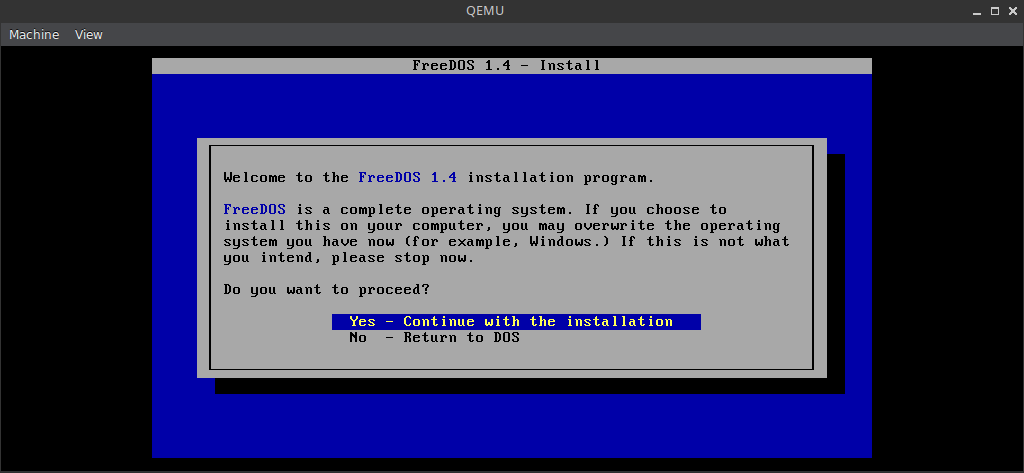
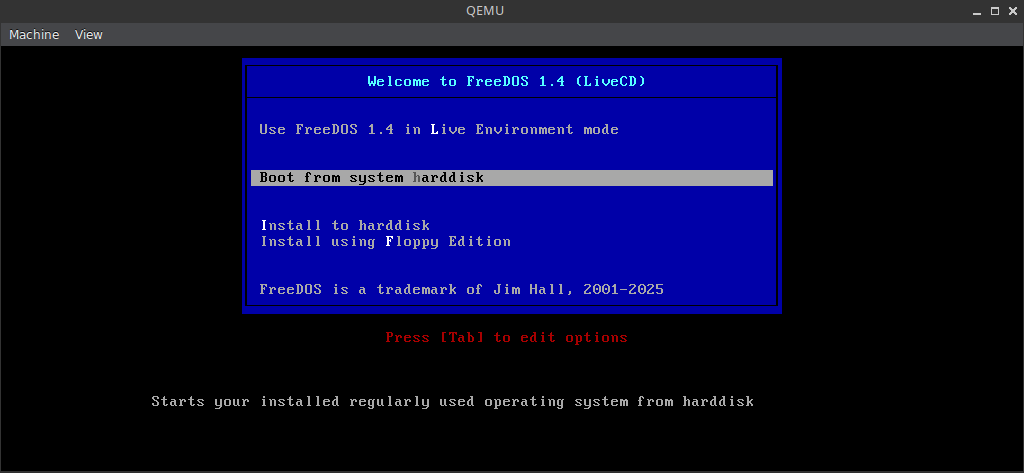
If everything went according to plan, you should be greeted with a screen that looks something like the one below.
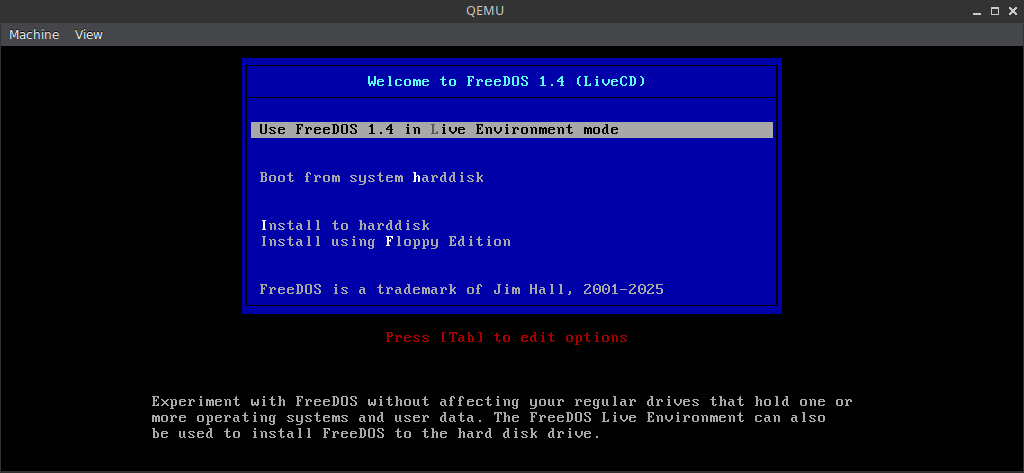
You’ll want to pick the first option, namely: Use FreeDOS 1.4 in a Live Environment mode.
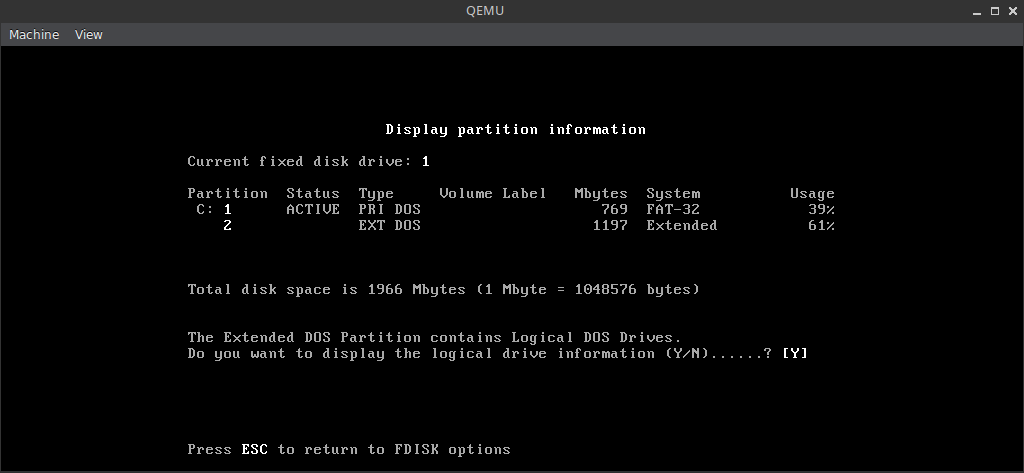
The next step is to partition, and format the disk with fdisk. This could have been done beforehand of course, with a slightly more comfortable tool like GParted, but where’s the fun in that? We are very bullish-10x-LLM-augmented-DOS-engineers here, am I right?
To do so, simply type fdisk and take it from there. It all should be pretty self explanatory. I decided to have two partitions, a smaller C: for the OS and D: using up all the remaining space for everything else.
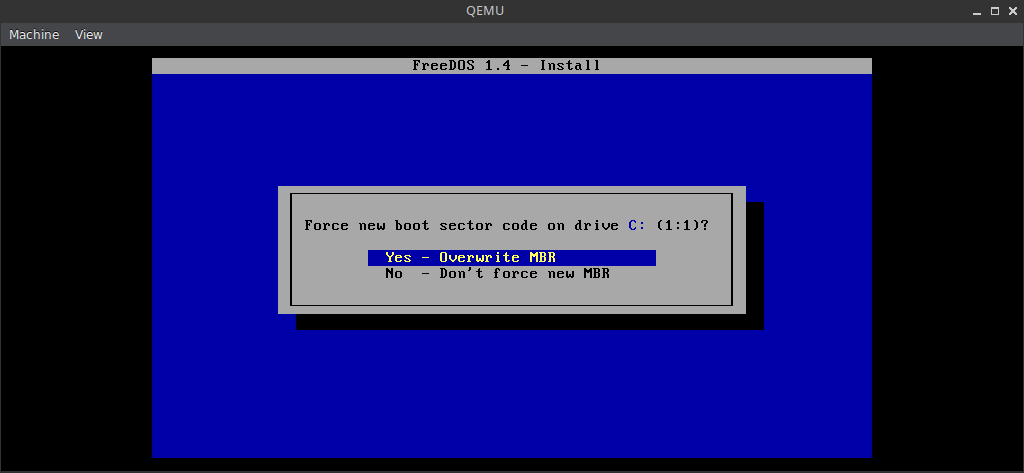
Make sure to toggle the bootable flag on the C: partition.
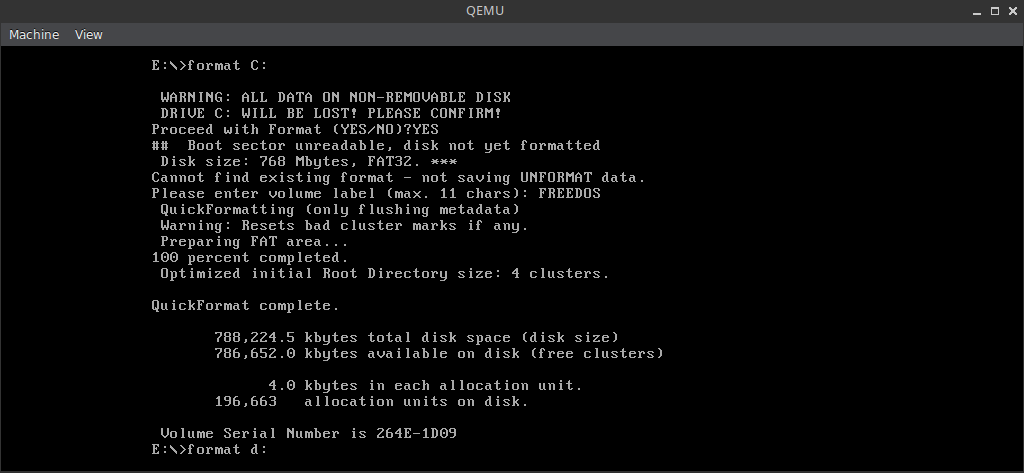
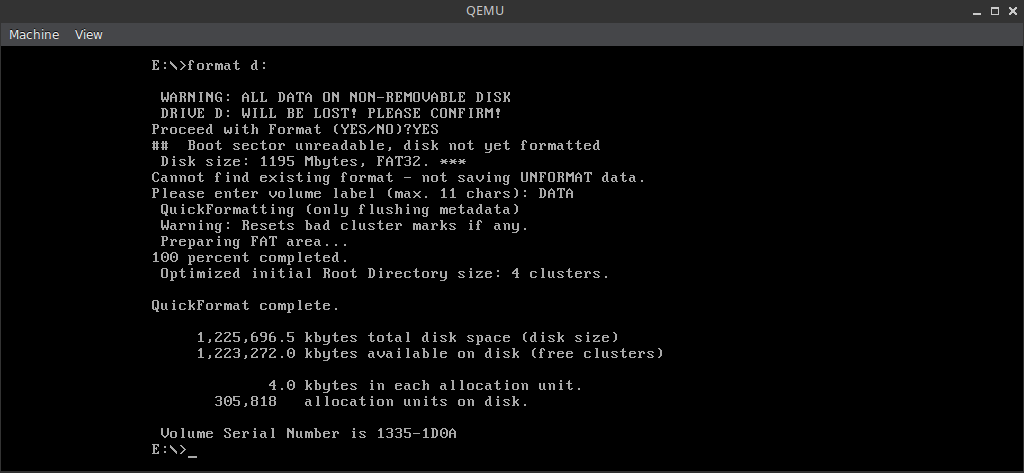
Finally, type shutdown, then run qemu-system-i386 again, making sure to pick the first option once more, then it’s time to format both partitions by typing in the following incantations:
format C:
format D:
shutdown
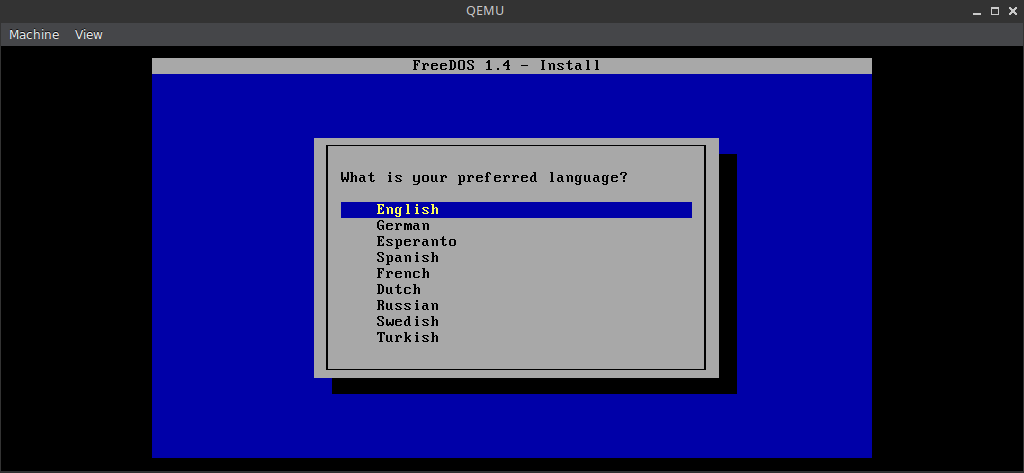
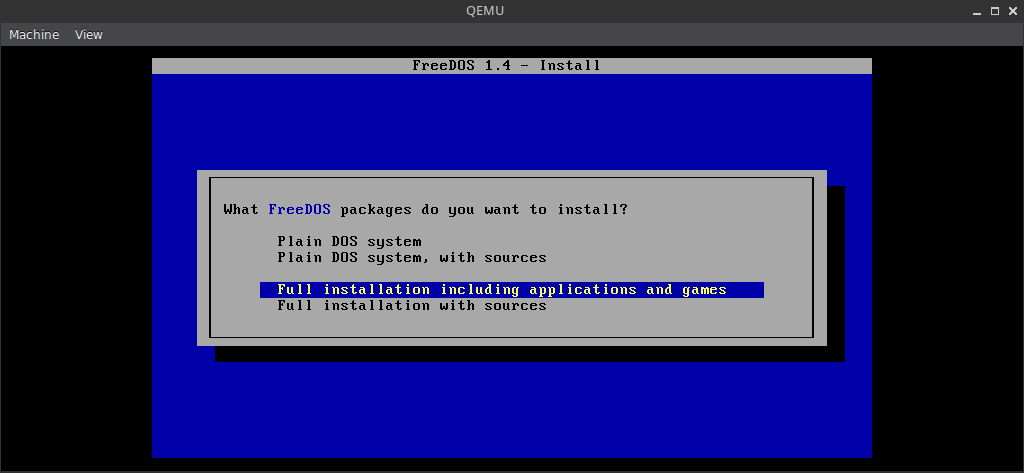
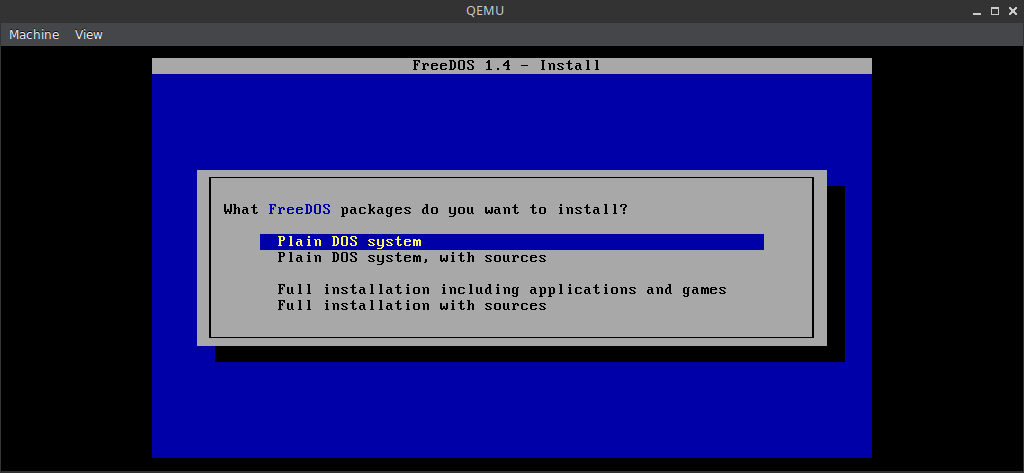
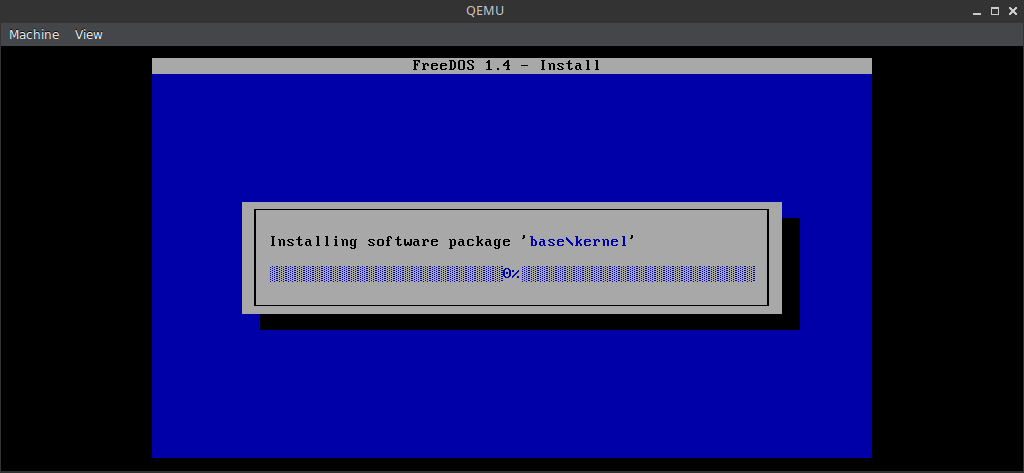
Run qemu-system-i386 for the third time, picking the Install to harrdisk this time around.
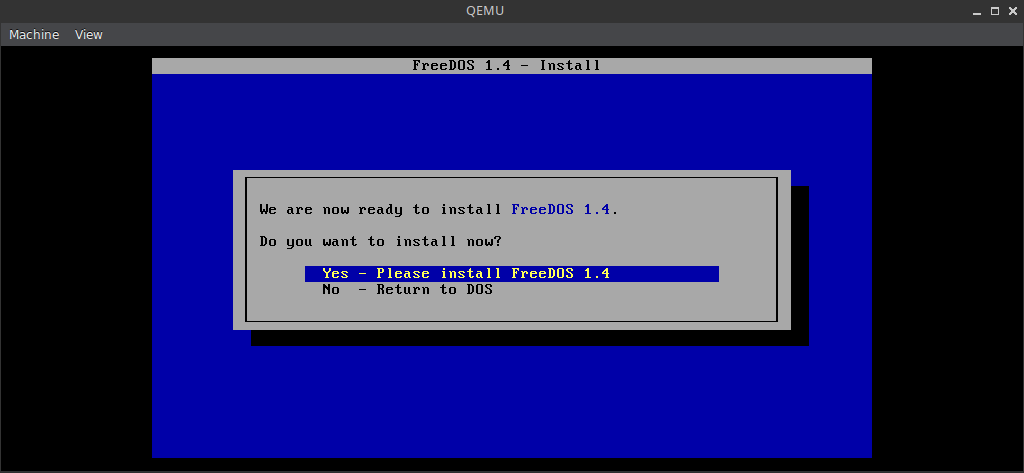
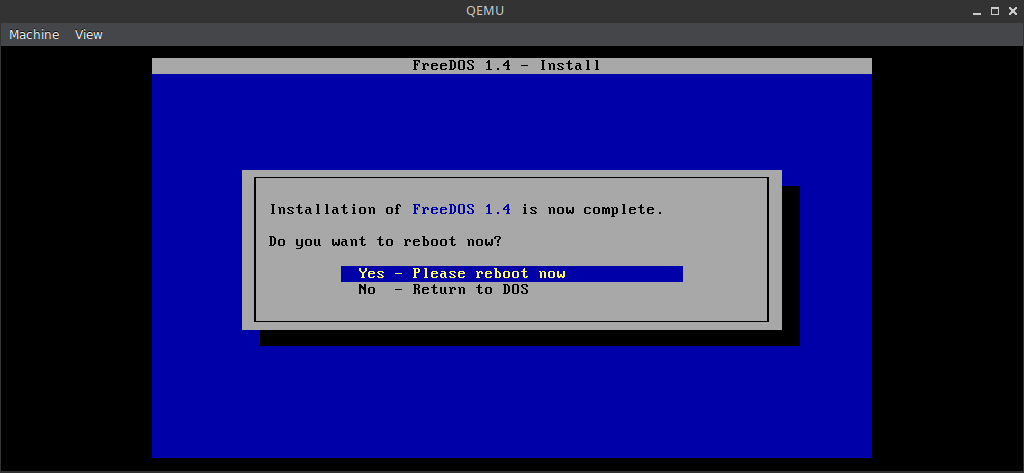
At end of the installation, make sure to pick Yes - Please reboot now, and then subsequently Boot from system harddisk
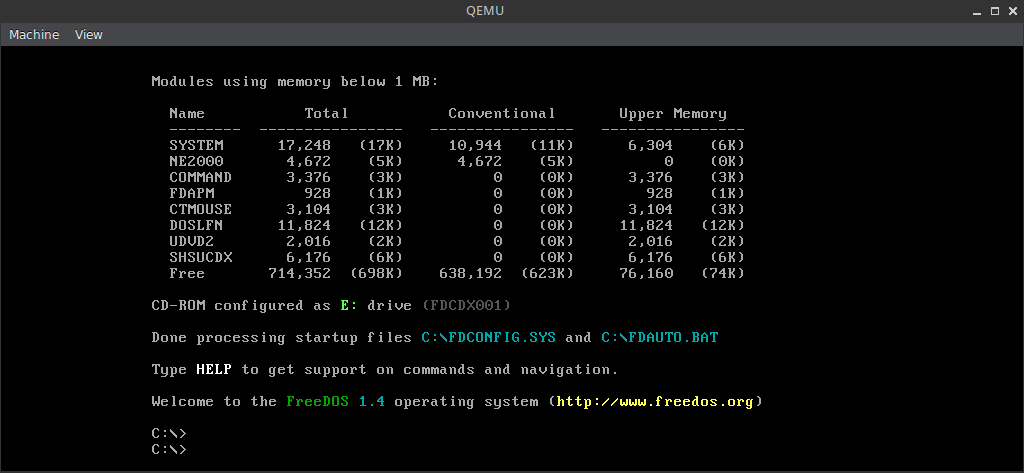
If all went well you should find yourself at a C:\> prompt. You’ll want to type shutdown for the last time, and boot it all up again, making sure to adjust the incantation to -boot from the C: partition instead.
$ sudo -E qemu-system-i386 \
	-cpu pentium \
	-m 32 \
	-vga cirrus \
	-drive file=/dev/sdX,format=raw \
	-boot c
Now, let’s have a little chat about the free space situation. There’s around 535MB free space left on C:, and we got all the free space in the world on D:, or 1.2GB to be more exact.
Who wouldn’t have killed for a 2GB hard-drive back in the day, am I right? I was fortunate enough not to have to endure the pain of 20MB and 40MB hard-drives, as my very first PC had a 540MB one.
Bonus CD
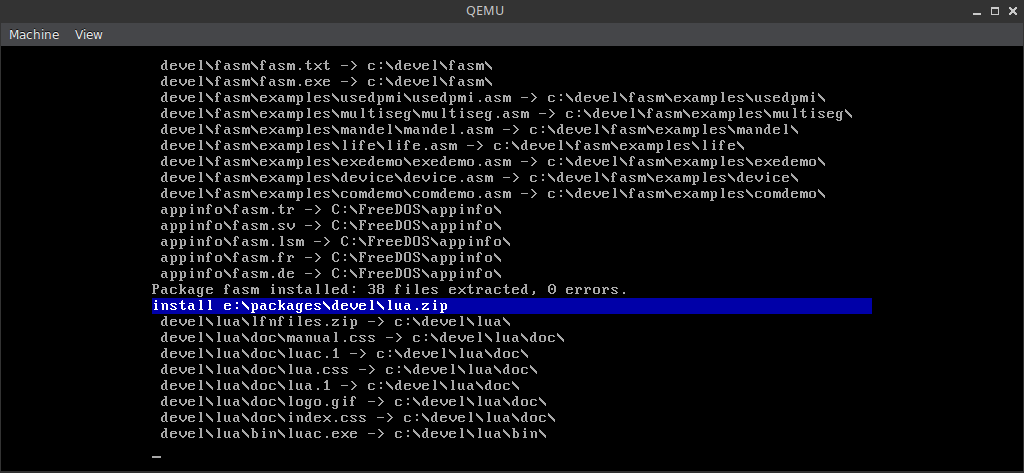
You’ll very likely want to grab the so called Bonus CD, and install even more software, which you can do fairly easily simply by executing the following incantations:
$ wget https://www.ibiblio.org/pub/micro/pc-stuff/freedos/files/distributions/1.4/FD14-BonusCD.zip
$ unzip FD14-BonusCD.zip
$ sudo -E qemu-system-i386 \
	-cpu pentium \
	-m 32 \
	-vga cirrus \
	-drive file=/dev/sdX,format=raw \
	-cdrom `pwd`/FD14BNS.iso \
	-boot c
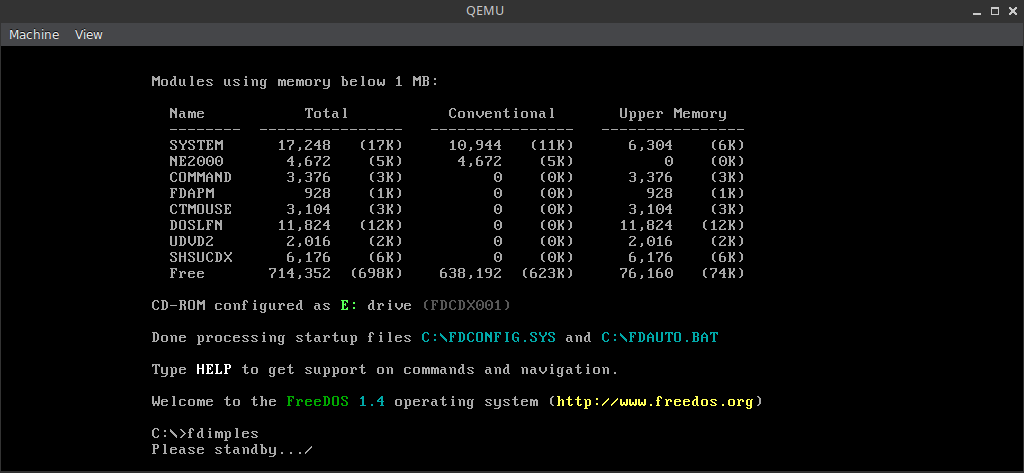
I can never remember the name of the package manager for the life of me. It’s called FDIMPLES, which rhymes with PIMPLES, but my brain simply refuses to cooperate with me when it comes to recalling it.
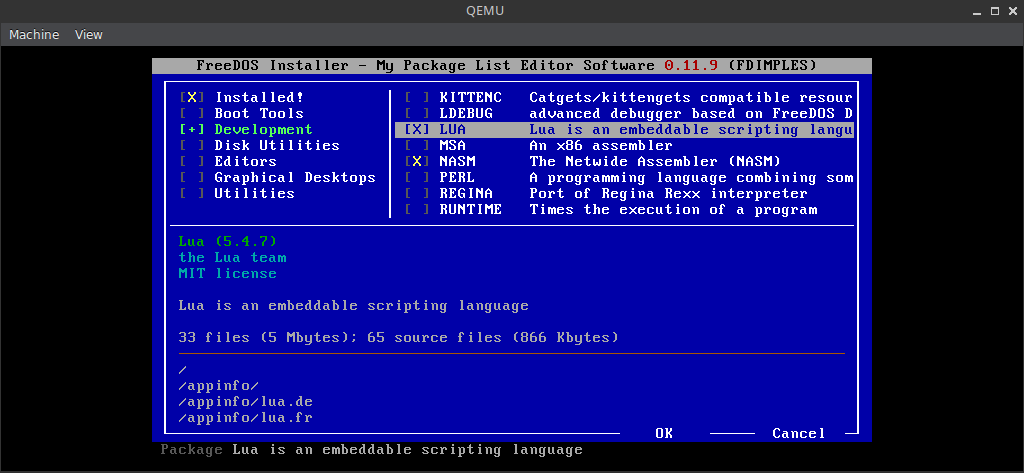
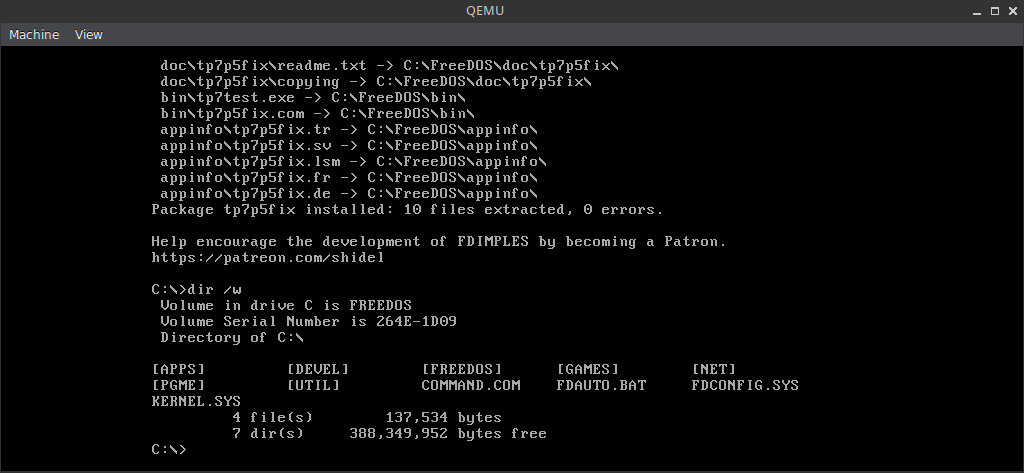
Based on the things that I have selected to install, I was left with 388MB on the C: partition after it was all said and done.
What did you pick? Decisions, decisions.
Extras
If you are like me, then you’ll probably want to add in even more extras into the mix, because life is way too short without some spice and excitement.
| Name | Version | Type | License | Download |
|---|---|---|---|---|
| Catacomb 3-D Abyss | 1.13 | Game | Shareware | catabs13.zip |
| Wolfenstein 3-D | 1.4g | Game | Shareware | 1wolf14.zip |
| DOOM | 1.92 | Game | Shareware | doom19s.zip |
| Commander Keen: Episode VI | Promo | Game | Shareware | keen6promo.zip |
| Tomb Raider | Part 1 | Game | Demo | tombdemo.zip |
| Tomb Raider | Part 2 | Game | Demo | tombraid.zip |
| Cracker Editor | 1.16a | Utility | Freeware | cre116a.zip |
| PictView | 1.94 | Utility | Freeware | pictview.zip |
| Norton Commander | 5.50 | Utility | Abandonware | nc.zip |
| Borland C++ | 3.0 | IDE | Abandonware | bcpp.zip |
| Turbo C++ | 3.0 | IDE | Abandonware | tbcpp.zip |
| Turbo Pascal | 7.01 | IDE | Abandonware | tp7.zip |
I ended up dropping these on the D: partition inside an aptly named SETUP directory, and then installing them from there to C: as one would from an actual floppy disk image.
The SETUP files for these will amount to about 45MB in total when unpacked.
RAM Disk
If you have embarked on this journey, you probably are going to be running FreeDOS on a system that has plenty of RAM to spare; way more in fact that you ever could have dreamed off during the days of old, and therefore spinning up a RAM Disk or two is generally just what the doctor ordered.
Luckily, this is relatively painless to do with FreeDOS, and it comes down to using RDISK.
In FDCONFIG.SYS:
23?DEVICEHIGH=C:\FreeDOS\BIN\RDISK.COM /S64 /:E
And, then in FDAUTO.BAT:
IF EXIST E:\NUL MKDIR E:\TEMP
IF EXIST E:\TEMP\NUL SET TEMP=E:\TEMP
IF EXIST E:\TEMP\NUL SET TMP=E:\TEMP
Finally, if let’s say you wanted to run and play WOLF3D from the RAM disk, you’d do:
xcopy C:\WOLF3D E:\WOLF3D /I /S /E
E:
cd WOLF3D
WOLF3D.EXE
Snapshot
At this point, it might be a good idea to take a full snapshot of the drive for safe keeping:
$ sudo dd if=/dev/sdX of=usbstick.img bs=1M
This snapshot then can be restored at a later time, by simply running the following incantation:
$ sudo dd if=usbstick.img of=/dev/sdX bs=1M
Plus, you won’t have to go through the pain of installing and configuring everything if something gets all tangled up after a botched install.
The End
The nice thing about this setup is that both partitions are good old regular FAT32, so one can just copy to/from freely, without having to go through QEMU or use any other special disk imaging utility.
Some of you might be asking right now, why didn’t I just create an empty .img, install to that via QEMU, then use dd to perform a raw copy to the USB stick with the following incantations:
$ qemu-img create usbstick.img 2G
$ qemu-system-i386 <...>
$ dd if=usbstick.img of=/dev/sdX bs=1M
Wouldn’t that also been faster? The answer to that question is as always a resounding: “It depends!”
To paraphrase a very dear acquaintance of mine with excellent taste in food and expert level culinary skills: “After all, as I am sure your mother tells you, and most certainly told me, it’s always important to try new things”.
If you are in the mood for having some real period appropriate fun, then you could try following this guide by Fabien Sanglard, and take a stab at compiling Wolfenstein 3-D from source, the way it was intended way back in the great year of 1992.
2026-05-10 / dos / abandonware / digital-archeology